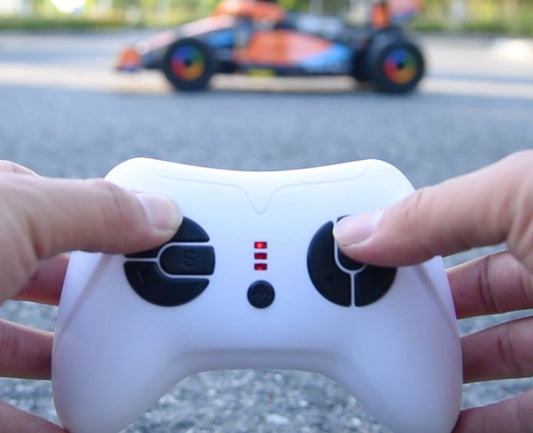
Having trouble pairing your ride-on car’s remote? Don’t worry — you're not alone. Many parents run into issues even after reading the manual. In this guide, we’ll walk you through the basic pairing steps to get your vehicle ready to go.
🔧 Step-by-Step Remote Pairing Instructions
Most ride-on cars use a 2.4GHz remote control, and pairing it usually takes less than a minute. Here’s how to do it:
-
Install Batteries into the Remote
Open the battery cover on the back of the remote and insert two AAA 1.5V batteries. Make sure the positive and negative ends are in the correct direction. -
Enter Pairing Mode
Press and hold both the “Forward” and “Backward” buttons at the same time. After about 3 seconds, the light on the center of the remote will begin flashing — this means it’s in pairing mode. -
Turn on the Vehicle
While the remote’s light is still flashing, press the power switch on the ride-on car to turn it on. If pairing is successful, the light on the remote will stop flashing and stay solid.
That’s it! Your remote should now be connected and ready to control the car.
🎮 Remote Button Quick Guide
-
“S” Button – Adjusts the speed (Low, Medium, High).
-
“P” Button – Puts the vehicle into park mode. Press again to re-enable driving.
📌 Note:
Different models may have slightly different pairing procedures. If this method doesn’t work for your car, we recommend watching the specific tutorial video linked below for your product.
🎥 Watch Our Video Tutorial Below!


